Wednesday, December 1, 2010

Furniture Repair Tips…. What NOT To Do

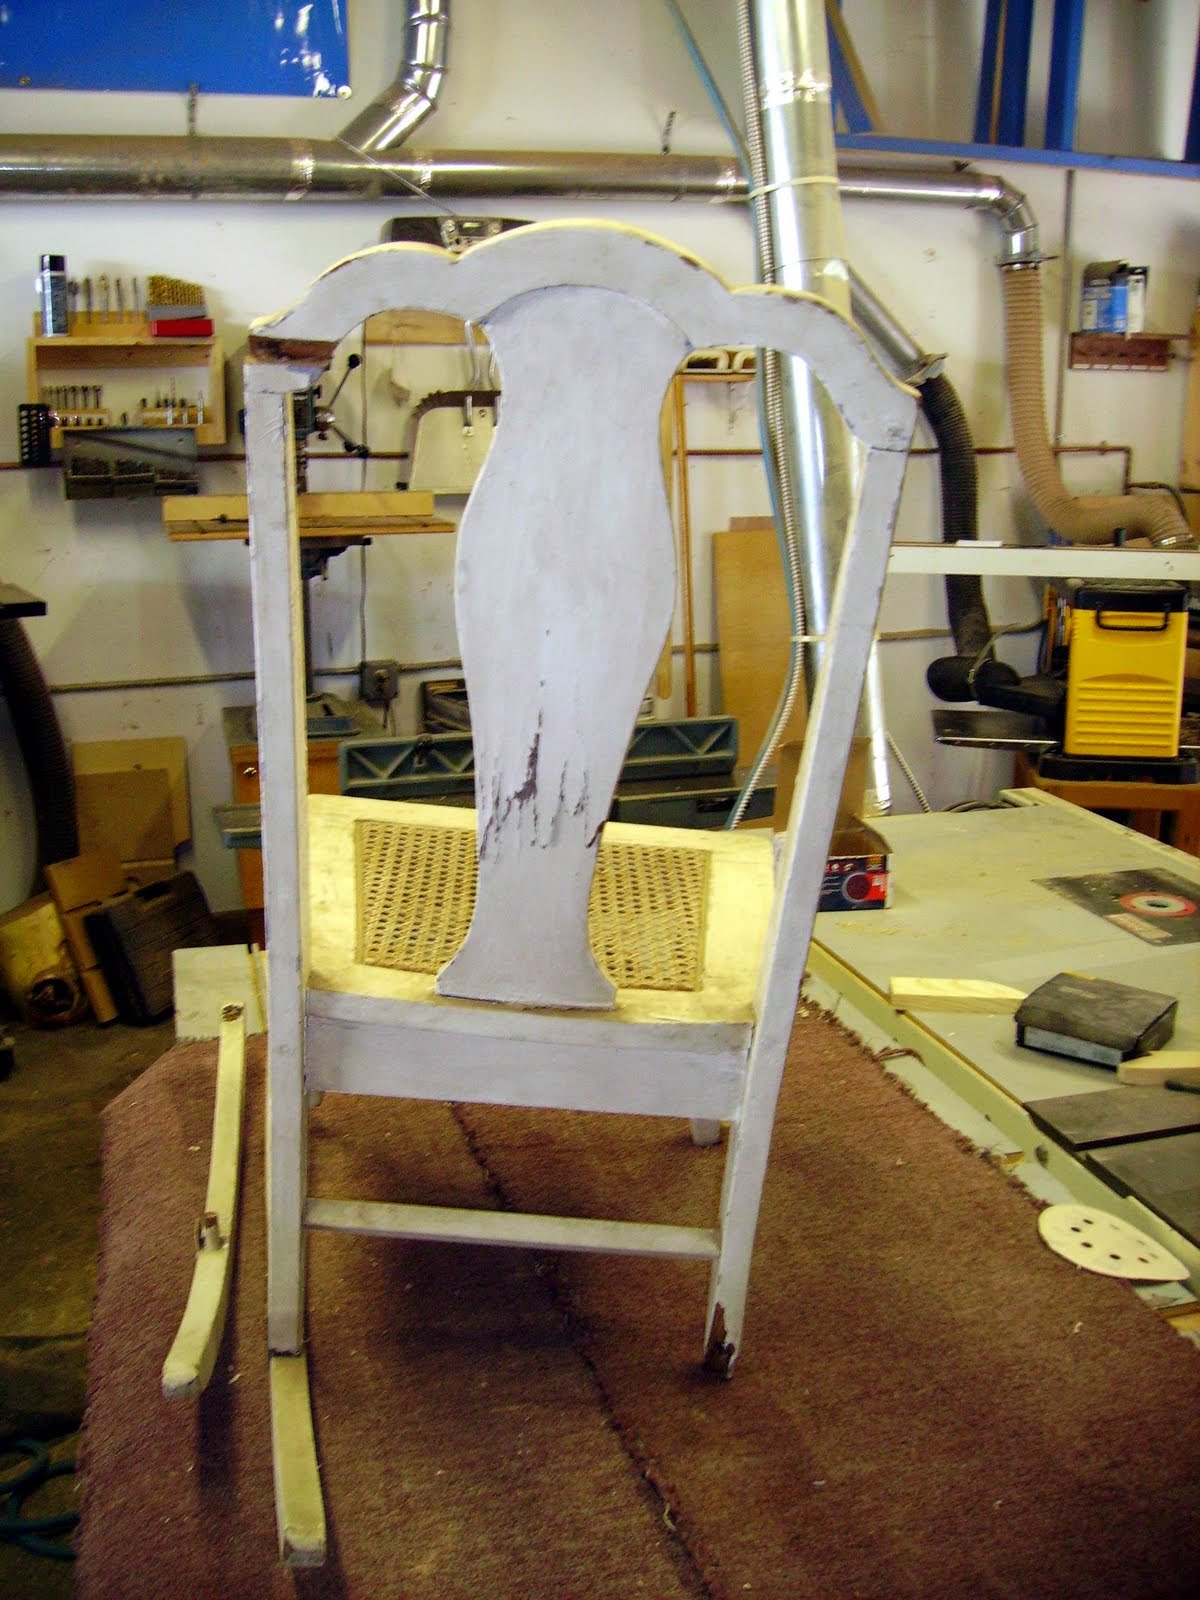
I’ve done lots of repairs over the years, some simple, some complex and some that have been “repaired” by Uncle Bob who took shop back in 1958. Sure Bob meant well, but his talents in woodworking fall a little short. Repairing his “repairs” usually takes a little longer.

There are some repair mistakes that I see frequently that cause the damaged area to fail again. The most basic error is trying to re-glue something back together. New glue won’t stick to dry glue. You have to have a wood to wood bond for your new glue to adhere to. So the first thing you have to do is sand or scrape off all of the old glue. Once your joint / repair is clean, you can glue it up and clamp it together.

Another common error in repairs is excess fasteners. I recently repaired an arm on a chair that had been “fixed” several times. This small joint, about 3 square inches, had seven screws and three nails in it. That many fasteners weakened what little wood was there. The repair in this case meant removing all the fasteners, filling and gluing the arm back together, cleaning up the old glue, and re-attaching the arm with just two screws and some glue.

An in home repair that I see a lot is “the cover up”. While not really a repair, covering the top of a table, desk, etc, with a doily or tablecloth hides the damage, it’s not the best solution. Scratches can sometimes be fixed with a wax stick. Water rings can often be lifted out with alcohol (rubbing, not tequila) or rubbed out with a mild abrasive. With a little work you can have the top of your furniture back and not have to hide it.

As for repairs to particle board furniture, well, let’s just say the best repair for those is replacement. Once the board has been cracked, chipped, torn, swollen, etc. there is no good repair. This material doesn’t take glue well, doesn’t hold fasteners well, and will never support weight again.

These are the most basic DIY repair errors that I see. Keep them in mind next time you have a repair on your hands. Of course if you’re not sure what to do, call your local professional woodworker, and leave Uncle Bob out of it.

Friday, October 8, 2010

Is My Furniture Worth Repairing?


I'm often asked if it is worth having a piece of furniture repaired. The answer to that is, “it depends”. If a piece is well built, needs minor repair or has sentimental value, the answer is yes. As a rule I don't recommend repairing pieces made of particle board. It's often cheaper to replace them, and these pieces generally have structural issues as well.

Lets look at each of these categories, starting with a well built piece. What constitutes well built? Solid wood construction or furniture grade plywood with sound veneer is a good start. Traditional joinery such as mortise and tenon or dovetails all add to a pieces integrity. While these are some good indications of quality furniture, they are by no means the only ones.

Any piece that needs minor repair should be considered for repair. Small scratches, dents or stains can usually be easily repaired. Even chips or damaged doors or drawers can be quickly repaired. These small repairs can be done so the entire piece won't have to be refinished. Even if a table top needs to be stripped the legs, aprons and supporting structures can usually be left as is, thus saving time and money. Even pieces that have dated or worn fabric can easily be re-upholstered and give a “tired” chair a new life.

Items with sentimental value should always be considered for repair. You can't replace your grandmother's hope chest or your dad's shoe shine kit. Things like that are too important to us and if they can be brought back to a like new condition for a reasonable sum, then do so. Not only will it be around for years to come, but if it's in good condition you're more likely to display it and remember all that it has come to mean.

While I have done repairs on lower quality (particle board) pieces, I usually discourage people from this. Most of these pieces are assembled with inadequate joinery, poor materials and are covered with a picture of wood. These materials don't take fasteners well and can't be refinished. Scratches, dents and dings are all permanent and the only way to fix them is to veneer the entire damaged area. It's best to replace the damaged area (top, shelf, side, etc), or the entire piece. Items like this are disposable and I suggest they be replaced with something better built.

So is the piece worth repairing? That's really up to you. I've brought back a lot of items that others said couldn't be fixed, and at a reasonable price. Other pieces I turn down because it's just too far gone or not worth the cost. The question is how much do you want the piece and is the price for the repair reasonable to you. Speak with a woodworker you trust and get their input. Given the choice, I'd rather repair an item than toss it, but it has to be sound to begin with.

Tuesday, April 13, 2010

Hinges are Hinges, Right?

One of the details I deal with when creating furniture, is what is the correct hardware for the piece. This often includes hinges. It may sound strange but there are lots of hinges out there to choose from and that choice can enhance or detract from the look of the total piece.

Before the hinge decision can be made, we need to decide on how the door will fit the cabinet. There are three basic fits for a door; inset, overlay and half overlay.

  • Inset doors are inset into the frame so they are flush with the face of the cabinet.
  • Overlay doors are larger than the opening, and the entire thickness of the door can be seen when it is closed.
  • Half over lays are a hybrid. They are sized like an overlay but the inside of the door has a groove (called a rabbet) so that only one half of the doors thickness is seen when the door is closed.

Each of these styles of doors requires a different hinge and that must be determined up front. You must also consider the face of the cabinet as well. Will it have a face frame, or will you go with a faceless cabinet where the door is fixed directly to the sides?

Hinges can be broken down into two major categories; butt and European. Butt hinges are what are on the doors in your house, two plates joined with a hinge pin. Not only are they available for all of the door styles, some their options include:

  • Different widths (for stock thicknesses) & lengths
  • Assorted materials and colors.
  • The tips can be balls, urns (more decorative), simple caps or nothing at all.
  • They may include spring mechanisms to close the door, although generally they don’t.

European hinges are completely different their features include:

  • A range of openings, from 90 up to 175 degrees.
  • They are generally self-closing.
  • They allow for two or three way adjustments that butt hinges don’t.
  • The hinge is hidden when the door is closed.

So now you know that there are more to hinges than you thought. A lot goes into choosing the correct hinge. Style, color, door & cabinet design all must be taken into consideration. And don’t forget, if you buy a cheap hinge, you’ll get cheap results in the long run.

Wednesday, February 17, 2010

Color Matching New Wood To Old

I’m often asked if I can do a repair and match the color of the existing piece. I have matched numerous pieces over the years and it’s not that difficult.

Preparation – The first step is to sand the new piece. I work through a series of sanding grits from 120 to 220 grit paper. Next the piece is dusted off and wiped clean with a tack rag, a cloth treated with a sticky substance, to remove all sanding dust.

Base stain – I pick a base stain that is as close to my target color as possible, making sure not to go too dark. I prefer to wipe the stain on, coat a large area and then wipe the excess off.

Secondary color – Wait overnight for the base stain to dry and then it’s time to assess where to go next. This is where the art comes in, knowing what color to add to get the right effect. Once you’ve chosen your color, apply it just like the first.

If the color still isn’t right – Again wait overnight before the next step. By this point, your wood is saturated and won’t accept any more stain, so it’s time for glazing. Glazing is a way to stain over a finish. The next step is to apply a coat of shellac. Shellac is quick drying, but I still like to wait a minimum of four hours. Once the shellac is dry, scuff sand the pieces with 220 grit sandpaper, and use your tack rag to remove all the dust.

Additional Colors – You can add additional color at this point as before. If you need to tweak colors after this, it’s a matter of shellac, stain and repeat.

Top Coat – Once you have achieved the color that you need, it is time to apply the top coat. Three to five coats of your finish should offer years of protection. You can use varnish, shellac, urethane whatever finish is appropriate for your piece. Sand with 220 grit paper between coats and clean with your tack rag.

Final touch – You can finish off your piece with a couple of coats of paste wax. If you’ve worked carefully, and used your artistic flair, your new piece will now match the original will little or no difference.

Friday, January 15, 2010

An Interesting Repair

A customer came to me with an antique three legged table, the problem was it used to have four legs. During a recent move one of the legs broke off and was lost. The leg was turned, meaning it was round rather than square, and to make matters worse it also had a series of V-grooved beads along the main portion of the leg.

Measurements - I started by taking measurements of one leg; both diameter and where it occurs on the length. Those measurements were used to create a drawing to work from.

Preparing the Blank- Next I glued up a blank that was 3” square and 24” long for the new leg. The next day I cut the corners off of the blank using a table saw, forming a long octagon. The blank was then mounted in my lathe and I transferred the measurements from my drawing to the blank.

Turning the Leg – Using gouges, skews and other turning tools I created the curve of the leg on my blank. When the turning matched my drawing it was time to sand it smooth. The lathe is set at a high speed and very fine sand paper is used to clean up any tool marks.

Groove & Beads – This detail was on a serpentine section of the leg, and required a special jig and a router to cut. The jig followed the curve of the leg and supported the router at a specific height over the leg. The router bit cut the detail, the leg was rotated 20 degrees, and the process repeated eight times.

Assembly – I trimmed the broken leg on the table and then drilled a hole in the center of it. A matching hole was drilled in the new leg and the two halves were joined with a dowel pin and some glue.

Finish – The table had a natural finish but the new leg was much lighter. I stained it to match the rest of the table, and gave the new leg several coats of varnish to protect it.

Many people would think that without the original leg, the table couldn’t be fixed. Before you make that decision about your broken furniture, check with an expert.

Tuesday, December 29, 2009


There are two basic styles of doors used in furniture; slab and panel, but there are several variations to choose from in these styles

Slab doors are just that, a slab of wood. They are usually a piece of solid wood, plywood, medium density fiberboard, etc. They can be plain or have some details to them, but they are usually used in lower quality furniture or in European style cabinets.

Panel doors consist of styles (vertical pieces), rails (horizontal pieces) and a panel of some type. A panel can be wood, glass, plastic, metal, cloth or pretty much any material that can be suspended between the styles & rails. Let’s look at some of the more popular panel styles for furniture.

Flat panel doors are the most basic of the family. The panel can be as simple as a piece of ¼” veneer plywood, although these tend to sound flimsy when they close. A better choice is to use a thicker panel. These require relief cuts to fit into the groove, but they do give the door a more substantial feel.


Raised panel doors as the name states, has the field of the panel raised from the edge. When designing your door panels there are several patterns to choose from. You can use a straight, curved or ogee patterns to name a few.


Cathedral Doors are another version of a panel door. While these can be flat panels, they are more often seen raised. The top rail is changed to incorporate a curve, or curves, giving you an additional decorative element.

These are just some basic facts about door designs used in furniture making. There’s no way I could cover everything in one quick article, so feel free to contact me if you’d like more information.

Sunday, December 13, 2009

The chest that couldn’t be repaired – or could it?

I was recently contacted by a customer who had a cedar chest she wanted repaired. It was her mother’s hope chest that has been in the family for over 60 years. She didn’t want it cleaned up or refinished, she wanted it re-veneered. She spoke with several woodworkers about the job and they all said the same thing. Because of the curved top, it couldn’t be done. Then she called me.


I went to their home, looked at the chest and said “I’ll do it”. I must say the chest looked a little worn and had a few repairs that needed to be un-done.


The first step was to remove the old veneer. Some areas just flaked off, while others need a hot air gun, a putty knife and lots of patience.


Once that was done I used a chisel and a palm sander to smooth out the surface. There were several digs and tears in the cedar that needed to be repaired. A little wood filler and some final sanding and it was ready for the next step.


Using a mahogany veneer and contact cement the new face was applied. Special care was used on the curved top and the book-matched front. Some light sanding and it was time to re-assemble the chest.


Some custom mixed stain to match the original chest and I finish it off with several coats of urethane. Finally it was delivery day. Both mother and daughter were overwhelmed with the finished piece, especially after being told several times that the job could not be done.
Some pieces are too far gone to repair, but often times the repair is a matter of finding the correct craftsman. In this case the furniture was structurally sound and just needed some cosmetic work. A family now has a second chance to enjoy an heirloom piece.